French Braid Tutorial - Your Guide To Beautiful Braids
Learning to create a classic hairstyle can feel like a big accomplishment, and the French braid, with its graceful appearance, has long been a favorite for many. This particular style, so often seen as something quite elaborate, actually comes together through a rather straightforward set of actions. It’s a look that brings a touch of refined beauty to anyone who wears it, making it a truly timeless choice for hair.
You might think that putting together this kind of braid would require a lot of prior skill or special training, but that's not quite how it works. Many people believe that its intricate look means it’s a difficult task, yet getting your own French braid to take shape is a surprisingly simple method. We're going to go through how to separate your hair into manageable parts, how to bring in new strands as you work your way down, and how to keep everything looking neat as you go, so you can achieve this lovely style yourself, even if you're just starting out.
This guide will walk you through the steps needed to get this popular hairstyle down, offering suggestions from those who style hair for a living. You’ll see that becoming comfortable with this look is something anyone can do. Whether you are a complete newcomer to braiding or just want to refine your method, we’re here to help you get that elegant finish. It’s a very achievable goal, really, to be able to do this for yourself or for someone else.
Table of Contents
- What Makes the French Braid So Special?
- Getting Ready for Your French Braid Tutorial
- Is Learning a French Braid Tutorial Really Simple?
- The Basic Steps for Your French Braid Tutorial
- How Can You Get Better at Your French Braid Tutorial?
- Trying Different French Braid Tutorial Styles
- What Occasions Suit a French Braid Tutorial Look?
- Your First French Braid Tutorial - What to Expect
What Makes the French Braid So Special?
There's something quite enduring about the French braid, isn't there? It’s not just a passing trend; it has remained a true favorite for a very long time, and that's for good reason. This particular hair arrangement has a way of looking both polished and relaxed at the same time, which is a pretty cool trick. It can make a regular day feel a little more put together, or it can add a touch of grace to a special event. It's a classic that seems to fit just about any situation, so, you know, it’s incredibly adaptable.
People often pick this style because it holds hair back neatly, which is great for activities, but it also has a visual charm that makes it stand out. It gives off an air of casual chic, yet it can be dressed up to appear quite sophisticated. The way the hair flows together, creating a continuous pattern down the head, gives it a unique visual appeal that many other braids don't quite capture. It's a look that suggests care and attention, but without seeming overly fussy, which is actually quite appealing.
This braid has a long history, too, making it a genuinely timeless choice for hair. It’s been around for generations, and its appeal hasn't faded one bit. That kind of staying power tells you something important about its design and its ability to complement various looks and personal expressions. It's a style that people return to again and again because it simply works, providing both beauty and practicality in one neat package. You might even say it’s a bit of a staple for anyone who likes to do things with their hair.
Getting Ready for Your French Braid Tutorial
Before you even begin to think about making your first French braid, it’s a good idea to gather a few simple items. Having everything at hand will make the whole process much smoother and less frustrating, too it's almost a necessity. You'll want a good comb or brush to get rid of any tangles in your hair. A spray bottle with a little water can be helpful if your hair tends to get frizzy or if you want to make it a bit more cooperative as you work. And, of course, you'll need a hair tie or two to secure your finished braid. Some folks also like to have a few small clips to hold sections out of the way while they are getting started, which can be pretty useful.
The condition of your hair before you begin also plays a role in how easily your French braid tutorial goes. It’s generally best to work with hair that is clean and completely free of knots. If your hair is freshly washed, you might let it air dry for a little while until it's just slightly damp, as this can sometimes make it easier to grip and control. For hair that's been unwashed for a day or two, adding a little dry shampoo can give it some texture, making it less slippery and easier to hold onto during the braiding process. The goal is to have hair that is easy to separate and that stays put as you work through the steps, so preparing it properly is quite important.
Taking a few moments to prepare your hair and your tools really sets the stage for a successful braiding experience. It helps to avoid those little snags and frustrations that can pop up when you're trying something new. You'll feel more confident as you begin, knowing that you have everything you need right there with you. This small bit of planning can make a big difference in how your French braid turns out, and it makes the learning process a lot more enjoyable, too. So, you know, take a moment to get everything in order before you get started.
Is Learning a French Braid Tutorial Really Simple?
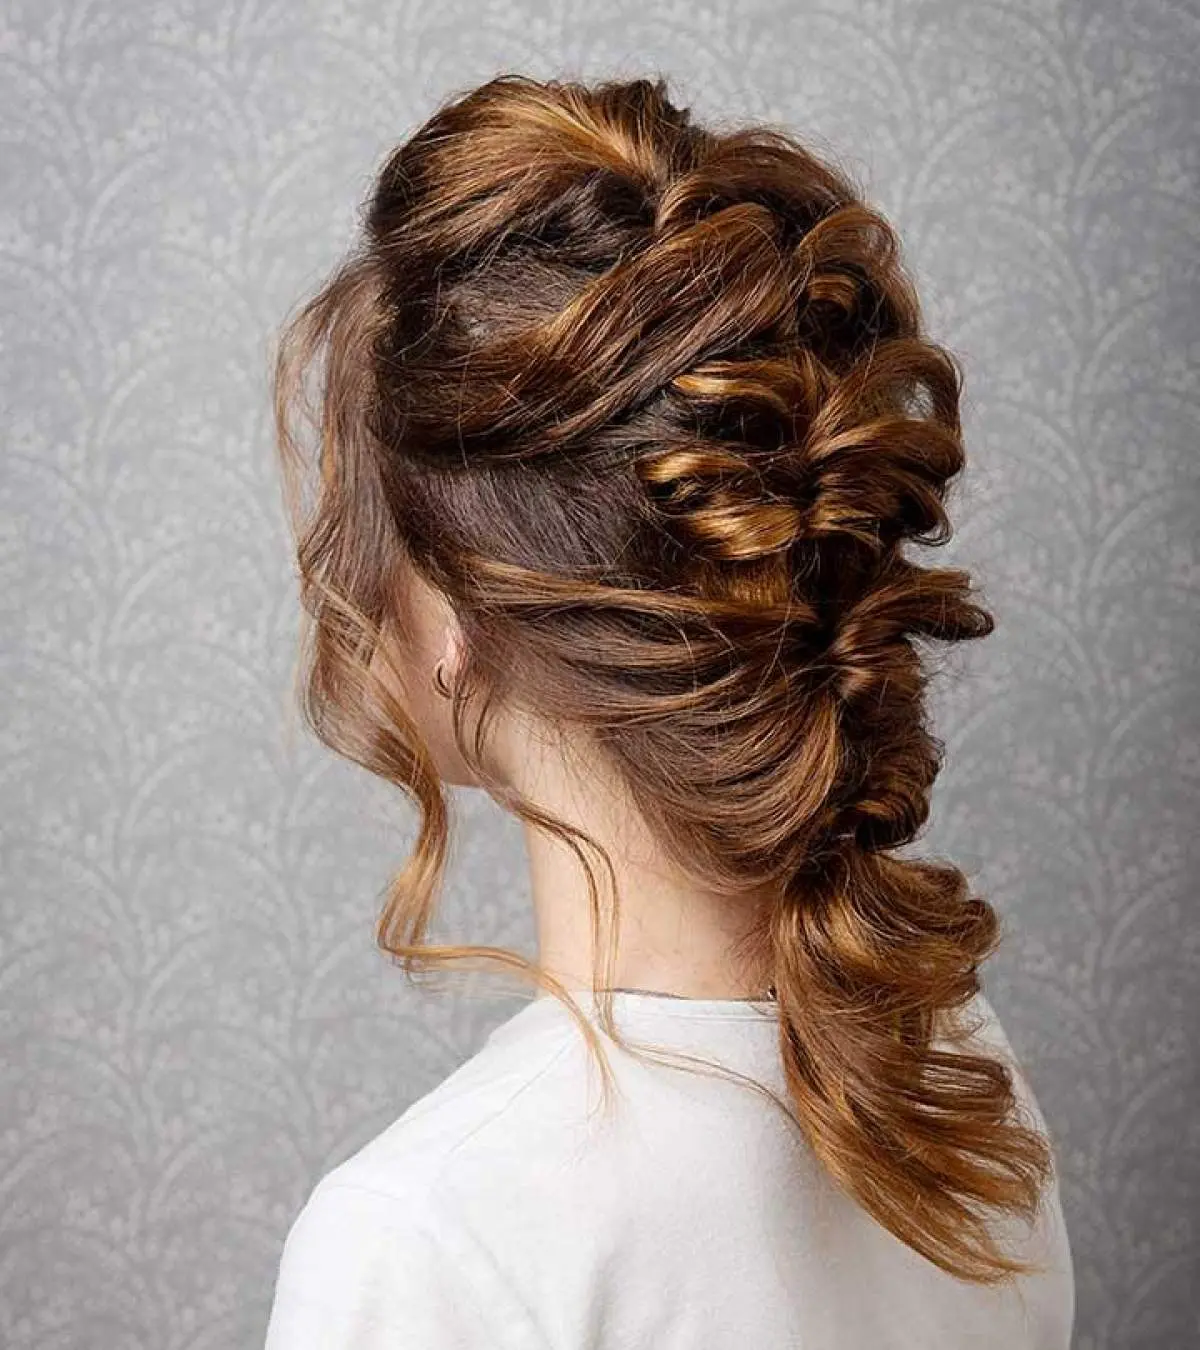
Many people look at a French braid and think it looks quite involved, as if it requires some kind of special talent or years of practice to create. It’s true that the way the strands seem to flow into each other, forming a continuous pattern, can appear quite complex. But here’s the thing: despite how it looks, putting together your own French braid is, in reality, a rather straightforward procedure. The basic idea behind it is quite simple, and once you get that core concept, the rest tends to fall into place. It’s not nearly as hard as it might seem at first glance, which is a relief for many who want to try it.
The fundamental action that makes a French braid what it is involves taking a small section of hair and then, as you continue to braid, gradually adding in more hair from the sides. That's really the main trick to it. You don't need to be a hair expert or have years of experience to grasp this idea. We can show you exactly how to divide your hair into the initial parts, how to bring in those extra bits of hair as you move down the head, and how to keep the whole thing looking tidy and well-formed. It’s a series of small, repeatable actions that, when put together, create that beautiful, flowing braid. It’s actually quite accessible, even for someone who has never braided before.
The key to making it simple is breaking it down into smaller, manageable pieces. Instead of seeing one big, complicated braid, think of it as a series of repeated steps. Each step builds upon the last, and before you know it, you’ll have a complete French braid. It’s a process that rewards patience and a willingness to try, rather than requiring innate skill. So, if you’ve ever wondered if you could really do this, the answer is a pretty resounding yes. It just takes a little bit of guidance and some practice, and you'll be creating these lovely braids in no time at all, so that’s something to look forward to.
The Basic Steps for Your French Braid Tutorial
Getting started with your first French braid tutorial can feel a bit like learning a new dance, but with clear instructions, it becomes much easier. Here, we'll walk through the main actions, step by step, to help you create this popular hairstyle. Just remember to be patient with yourself; practice really does help you get better at this, you know.
Section Your Hair to Begin: To get things going, take a section of hair from the top of your head, right at your crown. This initial piece should be about three inches wide, more or less, and deep enough to give you a good starting point. Think of it as the very first bit of hair that will form the top of your braid. Use a comb to make sure this section is smooth and free of any bumps or stray hairs. It’s important to have a clean start, as this sets the foundation for the rest of your braid, so, you know, take your time with this first part.
Divide and Cross for the First Time: Once you have that first section, divide it into three equal strands. Hold these three strands firmly in your hands. Now, take the rightmost strand and cross it over the middle strand. The strand that was originally on the right is now in the middle. Then, take the leftmost strand and cross it over the new middle strand. This is just like starting a regular three-strand braid, and it forms the very top part of your French braid. This initial crossing is a familiar motion if you’ve ever done a simple braid before, which can be helpful.
Bring in New Hair from the Sides: Here’s where the French braid really takes its shape. Before you make your next cross, you'll pick up a small amount of loose hair from the side of your head, right next to the strand you are about to cross. If you're about to cross the rightmost strand over the middle, you’ll pick up a thin piece of hair from the right side of your head and add it to that rightmost strand. Then, you cross this combined, thicker strand over the middle. Do the same for the other side: pick up a thin piece of hair from the left, add it to the leftmost strand, and then cross that combined strand over the new middle. This is the repeated action that builds the braid down your head, so it’s pretty key.
Continue Adding and Crossing: Keep repeating the action from the previous step. Each time you are about to cross a side strand over the middle, remember to pick up a new, small section of loose hair from that same side and add it to the strand you are about to cross. Try to keep the sections of hair you add about the same size each time; this helps the braid look even and neat. Work your way down your head, continuing to bring in hair from the sides until you run out of loose hair to add. This consistent adding is what makes the French braid unique, and it’s something that gets easier with practice, actually.
Finish with a Regular Braid: Once you've added all the loose hair from the sides of your head, you will be left with three strands of hair, just like in a regular braid. At this point, you simply continue to braid these three strands down to the ends of your hair, just as you would a normal three-strand braid. There’s no more hair to add in from the sides, so it’s a straightforward finish. Keep your tension consistent to avoid loose spots, which can sometimes happen.
Secure Your Braid: When you’ve braided all the way down to the end of your hair, use a hair tie to hold it in place. You can use a clear elastic for a less noticeable look, or a decorative tie if you prefer. Give your braid a gentle tug on the sides to make it look a little fuller, if that’s the style you prefer. And there you have it – your very own French braid! It might take a few tries to get it just right, but that's perfectly normal, you know.
How Can You Get Better at Your French Braid Tutorial?
Getting really good at making a French braid, or any hair style for that matter, often comes down to simply doing it over and over again. The more you practice, the more your hands will get used to the movements, and the more natural the whole process will feel. Don't worry if your first few attempts don't look exactly like the pictures; that's completely normal. Each time you try, you'll learn something new about how your hair behaves or how to adjust your grip. It’s like learning to ride a bike; you don’t get it perfectly on the first go, but with persistence, you get smoother and more confident, so that’s a good way to think about it.
Those who style hair for a living often share some helpful suggestions that can really make a difference in your French braid tutorial efforts. One common tip is to make sure your hair is completely free of tangles before you start. Even a small knot can make it hard to section the hair cleanly and add new pieces smoothly. Another piece of advice is to keep your hands close to your head as you braid. This helps maintain control and keeps the braid tighter and closer to the scalp, giving it that neat, polished look. They also often suggest using a mirror, or even two, so you can see what you’re doing at the back of your head, which can be very helpful, actually.
Keeping your braid looking neat from start to finish is a skill that comes with time. One way to help with this is to try and take consistent sections of hair each time you add a new piece. If some sections are much larger or smaller than others, the braid can look a bit uneven. Also, maintaining a steady amount of tension as you braid is important. If you braid too loosely, it might look messy; too tightly, and it could feel uncomfortable. Finding that just-right tension is a bit of a feel thing, and it's something you'll figure out as you keep trying. A little hairspray or styling cream on your fingertips can also help tame any tiny hairs that want to escape, which is quite useful for a tidy finish.
Trying Different French Braid Tutorial Styles
Once you feel comfortable with the basic French braid tutorial, you might find yourself wanting to try out some fun variations. The beauty of this technique is that it can be adapted to create a few different looks, adding versatility to your hair styling abilities. It's like learning a core skill and then finding all the ways you can use it. You can start with just one braid, or you can get a little more adventurous with double braids or even a front braid. Each style offers its own unique charm and can be suitable for different moods or occasions, so, you know, there’s a lot to explore.
The simplest variation, after the single French braid down the back, is often a double French braid. For this, you simply part your hair down the middle, from front to back, creating two equal sections. Then, you create a French braid on each side of your head, starting from the top and working your way down. This gives a playful, symmetrical look that’s great for everyday wear or for keeping hair out of your face during activities. It’s essentially doing the same process twice, side by side, which is quite manageable once you have the hang of the single braid. This can be a very cute style, actually.
Another popular twist on the traditional French braid is the front French braid, sometimes called a "Dutch" or "inverted" French braid, though the core technique is similar. For this style, instead of crossing the strands over the middle, you cross them *under* the middle strand. This makes the braid stand out more, giving it a raised, almost rope-like appearance on top of the hair. You can do this along your hairline, perhaps just on one side, to create a lovely headband effect, or you can do it all the way around your head. It’s a way to add a bit of extra visual interest and texture to your look, and it’s a pretty neat trick once you get it down.
What Occasions Suit a French Braid Tutorial Look?
The French braid is truly a hairstyle that can fit into almost any part of your life, which is one of the reasons it's so well-loved. It has a remarkable ability to adapt, looking just right whether you're heading out for a relaxed afternoon or getting ready for something a bit more formal. This versatility means you can rely on it for many different moments, making it a genuinely useful skill to have in your hair styling repertoire. It’s a very adaptable look, really, and that’s part of its charm.
For those everyday moments, like running errands, meeting friends for coffee, or just spending a quiet day at home, a French braid keeps your hair neatly out of the way while still looking put together. It’s a simple way to add a touch of polish to a casual outfit without needing a lot of fuss. When you're working out, whether it's at the gym or going for a run, a French braid is fantastic for keeping your hair secure and off your neck, preventing it from getting in your face. It's a practical choice that also looks good, which is quite a bonus.
But this braid isn't just for casual settings. It can be dressed up beautifully for more elegant events, too. Imagine it for a wedding, a special dinner, or a celebration. With a few subtle changes, like making the braid a little looser for a softer look, or adding some decorative pins or fresh flowers, it transforms into a sophisticated style. It provides a refined appearance that suggests careful attention to detail without being overly stiff. The way it flows down the head can create a graceful line that complements a formal dress, making it a perfect choice for those moments when you want to look your best. It’s a very elegant option, actually, when styled just so.
Your First French Braid Tutorial - What to Expect
If you're just starting out with your first French braid tutorial, it’s good to have a realistic idea of what the experience might be like. The very first time you try to braid your own hair, or someone else’s, it might not look exactly like the pictures you’ve seen online. That’s completely normal, and it’s part of the learning process. Think of it as a first attempt, a chance to get a feel for the hair and the movements. You might find your arms getting a little tired, or some sections not quite as even as you’d like. But every single try is a step forward, building your muscle memory and understanding, so, you know, don't get discouraged.
The good news is that this particular tutorial is designed to be very easy to follow, with clear, step-by-step guidance that shows you all the necessary actions to braid your own hair. It's broken down into manageable pieces, making it less overwhelming for someone who has no prior experience. You’ll find that an expert has put together these steps, often with helpful visuals, to make sure each part of the process is clear. This means you’re getting advice from someone who truly understands how to make this skill accessible to everyone, which is pretty helpful.
Whether you consider yourself a complete newcomer to hair styling or someone who just wants to get better at their current skills, this tutorial is here to help you perfect your technique. It’s all about patience and persistence. Don’t expect instant perfection; instead, celebrate the small improvements you make with each attempt. The more you practice, the more confident and skilled you will become. Soon enough, you’ll be creating beautiful French braids with a lot more ease, feeling like a true hair stylist yourself. It's a very rewarding skill to pick up, actually, and you'll be glad you stuck with it.
This article has covered the beauty and timeless appeal of the French braid, offering a detailed guide on how to create this classic hairstyle. We discussed preparing your hair and tools, and broke down the process into clear, manageable steps, showing you how to section hair

French Braid Tutorial

French Braid Hairstyles Tutorial
24 Amazing French Braid Tutorials
